
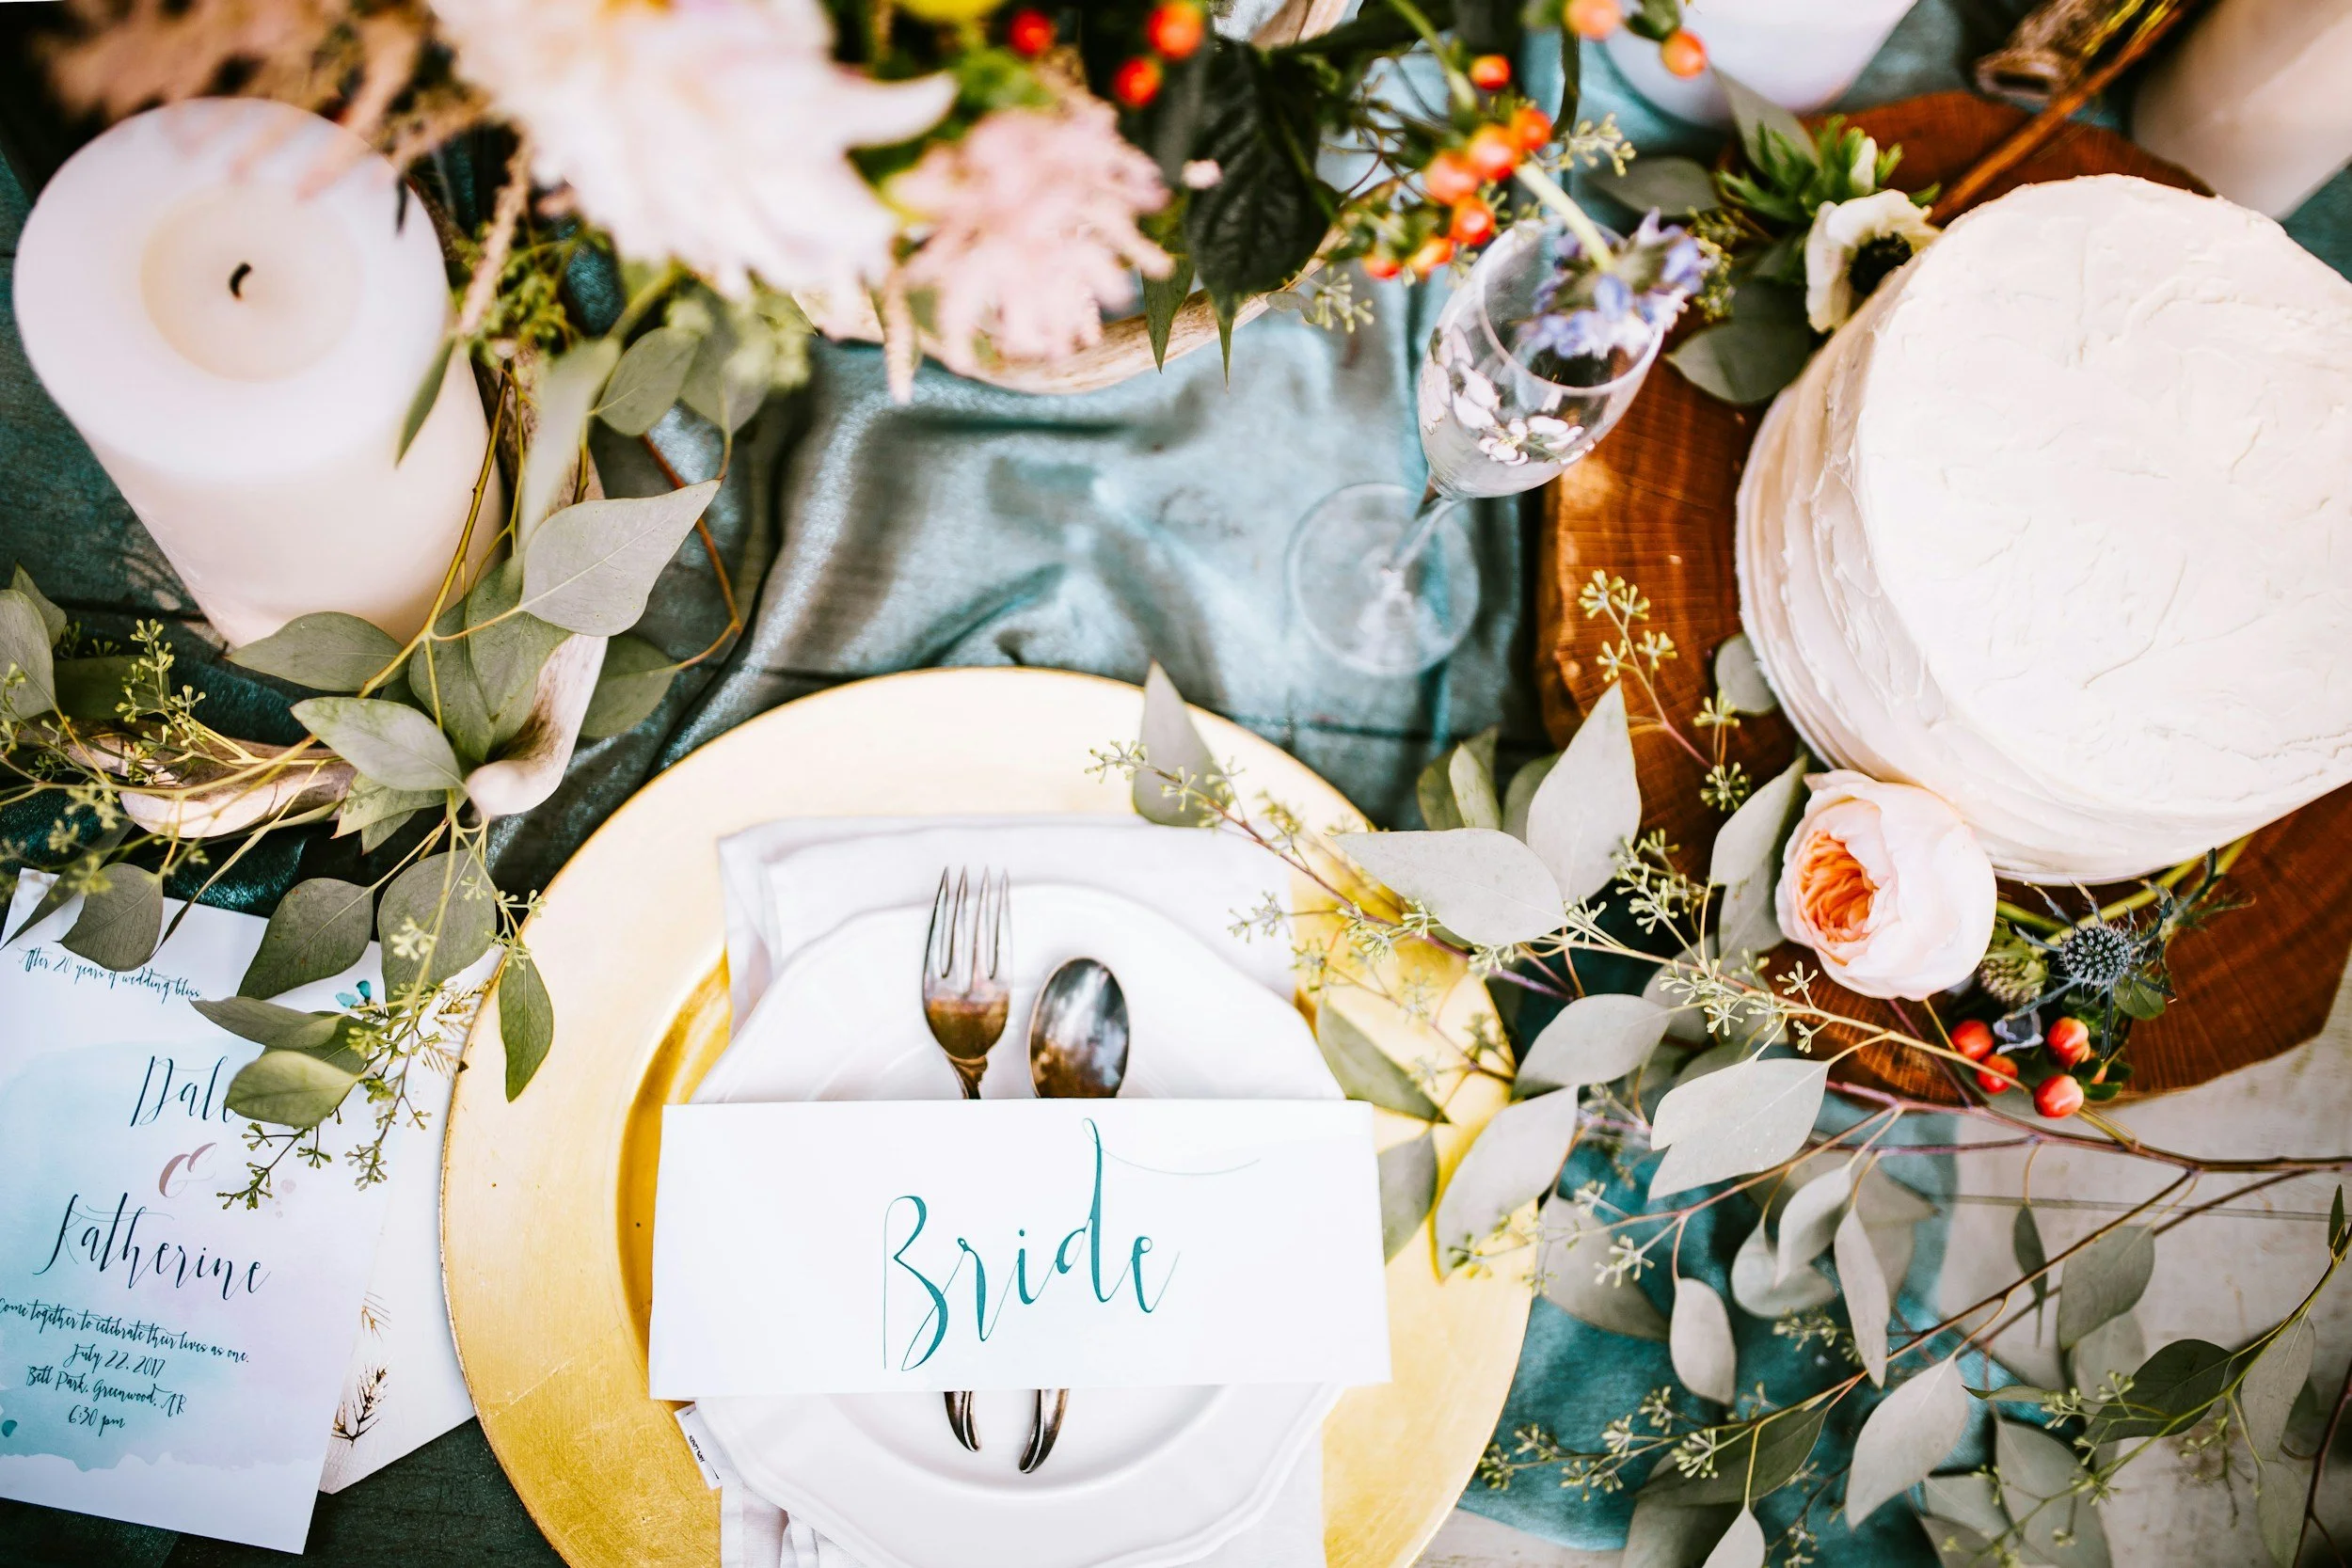
CUSTOM TOUCHES
Custom Touches – Make It Truly Yours
At Fables, we believe it’s the little details that make the biggest impact. That’s why we offer a range of custom touches to help you personalise your event and bring your vision to life. From bespoke signage, themed décor, and personalised welcome boards to custom menus, place cards, and handpicked styling elements, we’ll help you add those meaningful finishing touches that make your celebration truly one of a kind.
Your Style, Your Story
Whether you're planning a wedding, party, or corporate event, our team will work with you to weave in details that reflect your personality, brand, or love story. Go rustic, romantic, minimalist or bold – whatever your vibe, we’ll help you set the tone with thoughtful extras that elevate the whole experience.
Add to Any Package or Start from Scratch
You can add custom touches to any of our venue, marquee, or party packages, or let us create something entirely tailored to you. It’s all about creating moments that feel personal, memorable, and full of heart.
Planning your personalised details
What should we send with our ideas?
Share your event date, venue, colour palette and the items you are considering. Include quantities, sizes, your exact wording and any reference pictures. For a business event, tell us which brand colours and artwork you want to use. Add these details to your custom touches enquiry.
What details should we check before anything is made?
Confirm the agreed design, spelling, names, dates, quantities and sizes, together with the approval deadline and delivery or collection arrangements. Think about where each item will sit: welcome signage, table details and your marquee layout should work together. Explore wedding catering if you are planning the wider celebration too.
Guides for personalised event details
Explore the details that matter to your event, then bring the confirmed requirements together in your enquiry.
Planning guides
Prepare Artwork for Personalised Corporate Event Details
Prepare authorised brand artwork and wording for personalised corporate event details, with current files, clear approvals and only necessary personal information.
Read the guidePlan Where Personalised Event Signs Will Be Read
Match personalised event signs to their intended location, audience and message, then confirm suitable presentation and support with Fables and the venue.
Read the guideBuild a Personalised Event Item List
Build a practical list of personalised event signs, menus, place cards and styling details, with each item's purpose and quantity ready for discussion.
Read the guideCheck a Proof for Personalised Event Items
Review personalised-item proofs for exact text and specification, consolidate feedback and record the version Fables expressly accepts.
Read the guidePlan Delivery and Placement of Personalised Details
Plan the placement and handover of personalised event items using a room map, named suppliers, an accepted setup sequence and confirmed return arrangements.
Read the guideCreate a Style Brief for Signs and Table Details
Create a concise style brief for personalised signs and table details using labelled references, colour direction and the actual venue setting.
Read the guideCreate One Master Wording File for Your Event
Keep names, dates, repeated text and approval status in one controlled wording file for personalised event details.
Read the guideCheck Place Card and Menu Quantities
Check personalised place-card and menu quantities against guest lists, table use and the actual accepted order, keeping later changes explicit.
Read the guideFrom the planning journal
Related event planning
Bring the details together.
Include these details in your enquiry
- Event date, venue, style and colour palette
- Item list, quantities, sizes and reference pictures
- Exact wording, names, dates and approved artwork
- Proof approval, delivery and setup arrangements
Wedding details planning
Coordinate wedding signs, illuminated letters, audio guestbook, cake and arrival details. Build one checked wording list, room plan and supplier timetable.
Read the guideCheck Personalised Details Before Your Event
Keep names, dates, messages, quantities and sizes consistent across wedding signs, place cards, illuminated displays and cake details.
Read the guideMake personal details feel connected and carefully finished
Personal touches work best when they help guests experience the occasion as well as recognise your style. A welcome sign introduces the celebration; a place card helps someone find their seat; a menu explains what comes next. Start with the job each item needs to do, then make the details feel connected.
Use this planning process to turn references into a manageable item list, a single approved wording file and a clear delivery brief. Fables can discuss your ideas against the event and venue, while the final specification and arrangements remain those expressly confirmed for your booking.
1. Give every proposed item a purpose
List the personalised details you are considering and describe where each will be used. Separate welcome information, table details, directions and purely decorative elements. This makes it easier to prioritise the items guests need before adding details chosen mainly for their appearance.
For each item, note the audience and viewing distance. A sign seen across an entrance has a different task from a menu read at a table. Ask Fables which proposed items and formats can be discussed, rather than assuming every reference picture represents something already included or available.
2. Choose a consistent visual direction
Collect a small set of references for colour, type style and the overall feeling of the occasion. Explain what you like in each image so the brief does not depend on copying a complete design. A concise direction gives room to make the items work together in your actual venue.
Decide which elements must stay consistent and where some variety is welcome. You might repeat a colour and wording style while keeping table menus simpler than the welcome board. Share photographs of the room and existing venue features, because a design that looks clear on a screen may feel different on site.
3. Build one master wording document
Put names, dates, headings and repeated phrases in one document before distributing them to different suppliers. Use the exact capitalisation and punctuation you want. Mark draft text clearly so it cannot be mistaken for approved wording, and name the person responsible for keeping the master current.
Check repeated details across signs, place cards, cake toppers and illuminated displays. The personalised details checking article provides a final proofing approach. A correct email in one conversation is not useful if an older spreadsheet is the file used for production.
4. Check quantities against the guest and table plan
Create an item schedule with the required quantity, proposed size, destination and purpose. Explain whether there is one menu per guest, per table or another arrangement you want discussed. Keep any spare or replacement quantity separate so the final approved total is unambiguous.
For place cards and seating information, identify when the guest list and table allocations will be finalised. Ask what deadline applies to the agreed items and how later changes would be handled. Do not assume a production date can move automatically because the seating plan is still changing.
5. Match the size and wording to its position
Show where a sign will stand or hang, what guests see behind it and how they will approach. Ask Fables what size and support arrangements can be proposed for that setting. A large decorative heading may look attractive while leaving the useful information difficult to read.
Consider contrast, text length and whether guests can pause comfortably to read. Keep essential directions brief and place them where a decision is made. If the item will be outdoors or in a marquee, describe the position and conditions so suitability can be discussed before materials or placement are agreed.
6. Prepare corporate artwork and brand information
For a business event, provide the approved logo, brand colours and any relevant guidelines. Ask which artwork format is needed for the proposed item. Use files supplied by the person authorised to approve the brand rather than a screenshot copied from an old presentation.
Identify the person who will approve names, job titles, sponsor wording and brand use. If several organisations appear together, settle their order and relative emphasis before the final proof. Keep confidential guest or staff information out of general style references and share only the data needed for the agreed work.
7. Agree the proof and approval process
Ask what design proof will be provided, how feedback should be returned and when approval is needed. Confirm the agreed item, wording, size and quantity together rather than approving appearance in one place and the order total elsewhere. Request clarification where a proof does not show a detail you need checked.
Choose one lead approver and consolidate comments into a single response. Read the proof once for wording and once against the item schedule; trying to judge everything at a glance can hide errors. Ask how changes after approval would be considered, without assuming extra revisions or remaking are included.
8. Coordinate menus with the agreed food plan
If personalised menus are part of the brief, use the final confirmed menu wording from your catering arrangements. A design proof should not introduce an unagreed dish, ingredient claim or dietary label. Check that course names and serving sequence reflect what guests will actually receive.
Discuss any food-information wording with Fables before it is printed. Do not add allergy-suitability promises based on a decorative symbol or a guest’s request. The catering menu planning guide helps organise the food discussion before you freeze the wording for the finished items.
9. Give setup and collection a place in the timetable
List who delivers, positions and checks each item, including those supplied separately by the venue or another maker. Mark the proposed locations on your room plan. If details must be placed after tables are dressed or a room changes use, show that dependency in the running order.
Ask which delivery, setup, collection or return arrangements are included for the confirmed items. Use wedding details planning to connect personalised details with cake, letters and arrivals, and furniture planning to check where the table details will actually sit.
10. Turn the ideas into an organised enquiry
Send the date, venue postcode, event type, colour direction and a short item list. Add proposed quantities and sizes, exact wording where ready, reference pictures and relevant artwork. Distinguish essential details from optional styling ideas, and include the date by which the venue needs everything installed.
Planning example
For a wedding, the couple creates one wording file for the welcome board, table menus and place cards. They separate confirmed guest names from a draft seating list, mark where each item will go and nominate one approver. Fables can discuss the proposed items without receiving contradictory names and quantities in several messages.
11. Make the final check practical as well as visual
Can we request a design from an inspiration image?
Share it to explain the style or feature you like, then ask what can be proposed for your event. The final approved design and specification should be confirmed separately from the reference.
What if a guest name changes after approval?
Tell Fables promptly and ask what alteration can be agreed. Keep the master wording file updated, but do not assume changing your own file changes an already approved item or production arrangement.
What belongs on the final item schedule?
Record each agreed item, wording version, size, quantity, location, approval date and the person responsible for delivery, setup or return. Keep the current schedule with the venue plan so details are placed where intended.